Introduction: The Art of Cursive Writing
Cursive writing, often seen as an elegant and artistic form of handwriting, is a tradition that has been passed down through generations. While it’s no longer emphasized in modern education, cursive writing remains a valuable skill for both personal expression and professional communication. If you’re looking to learn how to write in cursive, whether for nostalgia, legibility, or aesthetic appeal, this guide will walk you through the basics and show you how to join cursive letters to form fluid, beautiful handwriting.
Step 1: Understand the Basics of Cursive Writing
Cursive writing is distinct from print writing because it connects letters together in a flowing manner. There are a few key differences to note:
- Letter Connection: Cursive letters are designed to flow into one another, making it faster to write.
- Slanting Letters: Most cursive fonts have a natural slant to the right, which adds to the flow and aesthetic of the writing.
- Loops and Strokes: Many cursive letters have loops or swooping strokes that create a unique and graceful appearance.
Before you start, it’s essential to understand that cursive writing requires practice to achieve fluidity and consistency. Let’s dive into how you can start practicing!
Step 2: Learn the Basic Cursive Strokes
Every cursive letter is composed of a few basic strokes. Learning these strokes is the first step toward writing in cursive:
- Upward Stroke: This stroke is used to start many cursive letters, like the letters “l” and “h.”
- Downward Stroke: Often used in letters like “t” and “p,” this stroke comes down from the top.
- Loop: Letters such as “b” and “g” use loops to create their distinctive forms.
- Straight Line: Some letters, like “m” and “n,” are formed with straight lines and slight curves.
Start by practicing these basic strokes on paper until you feel comfortable with the movements. This will make writing cursive letters much easier.
Step 3: Practice Individual Cursive Letters
Once you have mastered the basic strokes, it’s time to focus on writing individual cursive letters. There are two types of letters to focus on:
- Lowercase Letters: These letters are the most common and are often connected to each other. Start with simpler letters like “i,” “u,” and “a,” and move on to more complex ones such as “f,” “k,” and “s.”
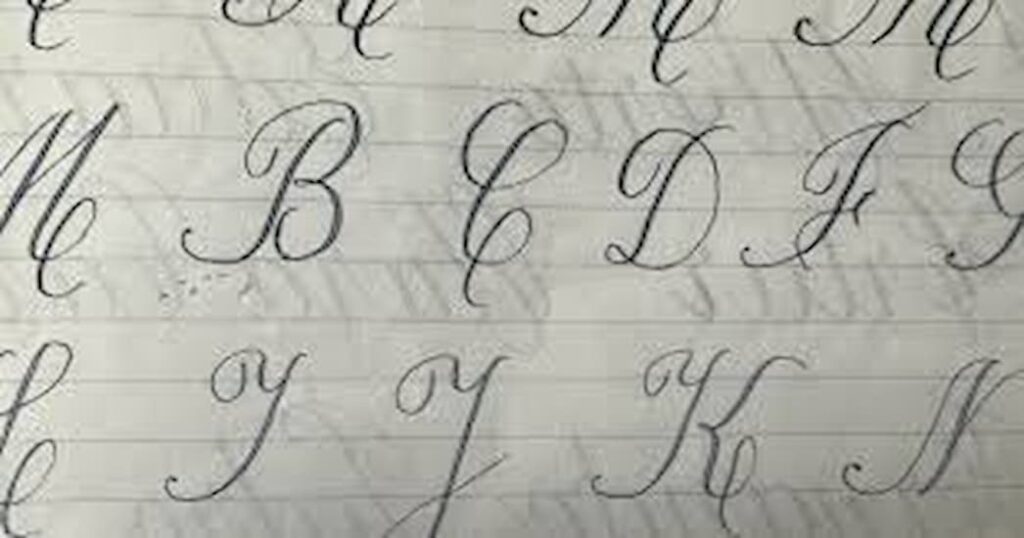
- Uppercase Letters: Uppercase cursive letters are often larger and more ornate. Practice letters like “C,” “B,” and “D,” ensuring you maintain the flowing connection typical of cursive writing.
It’s helpful to write each letter slowly at first to get the right shape and flow. Try copying cursive alphabet charts until you feel confident in writing each letter on your own.
Step 4: Connecting Cursive Letters
Now that you can write individual letters, it’s time to start joining them together. The beauty of cursive writing lies in how the letters flow from one to the next. Here’s how to connect cursive letters:
- Start with Simple Words: Begin with short, simple words that only use a few letters, such as “cat,” “dog,” or “bat.” Focus on connecting each letter smoothly.
- Practice Letter Pairs: Practice joining letters that flow easily together, like “li” or “at.” This helps you become familiar with how the letters interact.
- Work on Larger Words: As you grow more confident, start writing longer words, ensuring you maintain the fluid connection between letters.
Pay close attention to how your pen or pencil moves across the paper, trying to avoid lifting it too much. This is key to making smooth connections between letters.
Step 5: Write Sentences and Paragraphs
Once you’re comfortable with individual words, the next step is writing full sentences and paragraphs. This will help you achieve consistency in your cursive writing. Try writing sentences with various letter combinations, such as “The quick brown fox jumps over the lazy dog.” This sentence uses every letter in the alphabet, making it a great practice tool.
Practice writing at a consistent speed to develop muscle memory. This will make your writing flow more naturally and faster over time.
Step 6: Refine Your Cursive Style
As you continue practicing cursive writing, you’ll develop your own unique style. Some people prefer a more traditional, formal cursive style, while others opt for a more relaxed, flowing look. Here’s how to refine your style:
- Experiment with Loops: Try making the loops in letters like “e” and “o” larger or smaller depending on your style.
- Adjust the Slant: You can make your letters slant more or less based on your preference.
- Focus on Legibility: While cursive writing can be beautiful, it’s important that your writing is still legible. Practice writing neatly and consistently, especially when writing for others to read.
Step 7: Use Cursive in Your Daily Life
The best way to perfect your cursive writing is to use it regularly. Start using cursive in your daily life for note-taking, journaling, or writing letters to friends and family. The more you write in cursive, the more natural it will become.
Final Thoughts: The Reward of Mastering Cursive
Learning to write in cursive is a rewarding skill that can add beauty and fluidity to your handwriting. Whether you want to write with elegance, create personalized notes, or improve your handwriting in general, cursive writing offers a unique approach to communication. Remember, practice is key, so keep at it, and soon you’ll be able to join letters together with ease and grace.