Removing a PopSocket from your phone or case can be a bit tricky if you’re not sure how to do it properly. In this guide, we’ll walk you through a simple, step-by-step process to remove your PopSocket without causing any damage. Let’s get started!
What is a PopSocket?
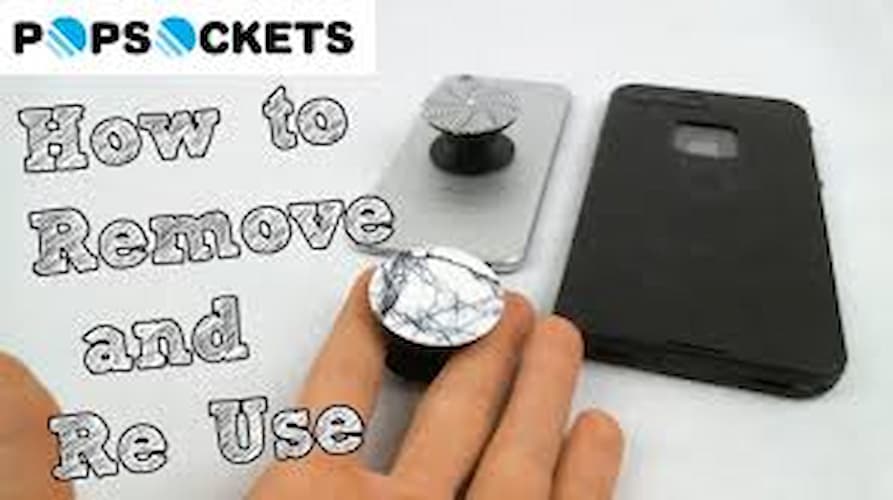
A PopSocket is a small, collapsible grip that attaches to the back of your phone or phone case. It can be used to hold your phone more comfortably, stand it up on a flat surface, or even wrap your earphones around it. While it’s a handy accessory, you might want to remove it for cleaning, replacement, or just a change of style.
Why Remove a PopSocket?
There are several reasons why you might want to remove your PopSocket:
- Cleaning: Over time, dust and dirt can accumulate on the adhesive side, reducing its stickiness.
- Replacement: You might want to replace it with a new one or switch to a different design.
- Phone Case Change: If you’re changing your phone case, you might need to remove the PopSocket first.
What You’ll Need:
To remove a PopSocket, you’ll need:
- Your Fingernails or a Plastic Card: You can use your fingernails or a plastic card (like a credit card) to help pry the PopSocket off.
- Isopropyl Alcohol: For cleaning the adhesive side if it gets dirty.
How to Remove a PopSocket: Step-by-Step
Follow these steps to remove your PopSocket safely:
1. Push the PopSocket Down:
Before attempting to remove the PopSocket, make sure it is fully retracted. Gently push the top of the PopSocket down until it is completely collapsed.
2. Use Your Fingernails:
- Work Your Fingernails Under the Base: Press your fingernails against the sides of the PopSocket’s base and push until you can feel them sliding underneath.
- Pull Gently: Once you have a good grip, gently pull the PopSocket off your phone or case. Start from one side and slowly peel it off.
3. Use a Plastic Card (Optional):
If your fingernails can’t get a good grip, you can use a plastic card:
- Slide the Card Under the Base: Gently rock the card around the edges of the PopSocket to loosen it.
- Lift Off: Once the PopSocket is loose enough, slide the card halfway underneath and lift it off with your finger.
4. Clean the Adhesive Side:
- Run Under Cold Water: If the adhesive side is dirty, run it under cold water for a few seconds.
- Let it Dry: Let the PopSocket air dry for about 10 minutes before reattaching it.
Tips for Best Results:
- Be Gentle: Avoid using sharp objects like knives, as they can damage the PopSocket’s adhesive.
- Work Slowly: Take your time to avoid breaking the PopSocket.
- Clean Regularly: Clean the adhesive side regularly to maintain its stickiness.