Opening and replacing the battery in your LiftMaster remote control is a simple task that can help ensure your garage door or gate opener continues to function smoothly. This guide will walk you through the steps to open your LiftMaster remote and replace the battery, ensuring your remote remains reliable and hassle-free.
Step 1: Identify the Battery Compartment
Begin by examining your LiftMaster remote to locate the battery compartment. Typically, it’s on the back of the remote and is covered by a panel or sliding door.
Step 2: Use a Screwdriver or Coin (if needed)
Some LiftMaster remotes feature a small screw that secures the battery compartment cover. If your remote has a screw, use a small screwdriver to turn it counterclockwise to remove it. If there’s no screw, you can skip this step.
Step 3: Slide or Pry Open the Cover
For remotes with a sliding cover, gently slide the cover in the direction indicated by arrows or markings. This action should reveal the battery compartment. In the absence of a sliding cover, you may need to use a small, flat tool (like a flathead screwdriver or a coin) to gently pry open the battery compartment cover. Be cautious to avoid damaging the remote.
Step 4: Remove the Old Battery
Once you’ve accessed the battery compartment, you’ll find the old battery. Carefully remove it from its slot, taking note of its orientation (positive and negative sides).
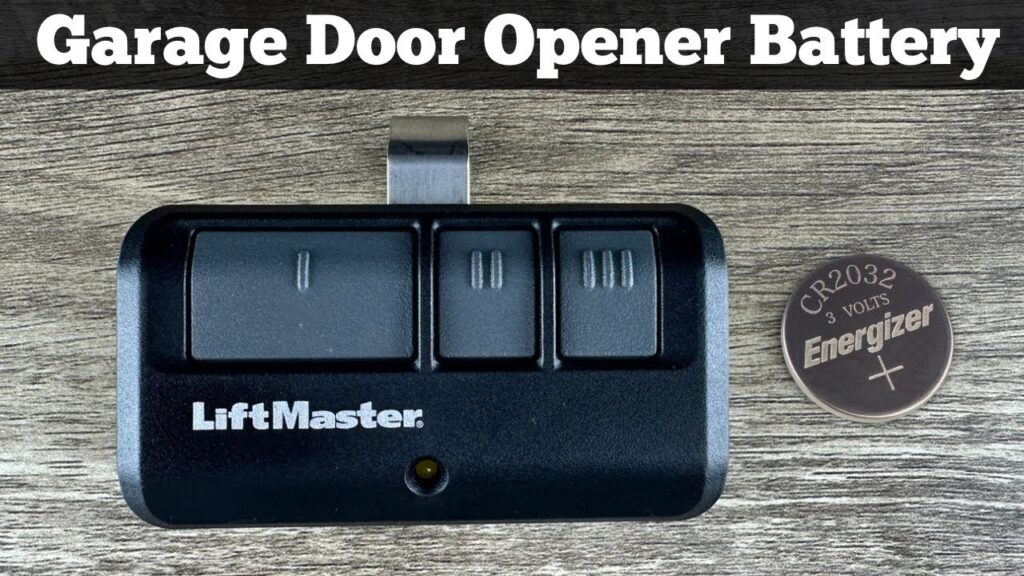
Step 5: Insert the New Battery
Take your replacement battery (typically a 3V lithium coin-cell battery, such as CR2032) and insert it into the battery compartment, ensuring proper alignment with the positive (+) and negative (-) markings or the diagram inside the compartment.
Step 6: Close the Battery Compartment
If you had removed a screw, reinsert it and turn it clockwise to secure the battery cover. For sliding covers, slide it back into place until it clicks or snaps shut securely.
Step 7: Test the Remote
With the new battery in place and the battery compartment securely closed, test your LiftMaster remote by pressing its buttons. It should operate your garage door or gate opener as expected.
Tips for Best Performance
- Keep Your Remote Clean: Regularly clean the battery contacts and the remote’s buttons to ensure smooth operation.
- Store Properly: Store your remote in a cool, dry place to prolong battery life.
- Replace Batteries Regularly: Even if your remote is working, consider replacing the battery every 1-2 years to avoid unexpected failures.
Conclusion
Opening and replacing the battery in your LiftMaster remote is a straightforward process that can help maintain the functionality of your garage door or gate opener. By following these simple steps, you can ensure your remote remains reliable and hassle-free. If you encounter any issues, don’t hesitate to reach out to LiftMaster customer support for assistance.