Opening a Behr paint can might seem straightforward, but there are a few tips and tricks to make the process easier and cleaner. This guide will walk you through the steps to open a Behr paint can, ensuring you’re ready for your next painting project.
Step 1: Gather Your Tools Before you start, make sure you have the necessary tools. You’ll need a paint key, which is often included with the paint can, or a flathead screwdriver. Having these tools on hand will make the process smoother.
Step 2: Shake the Can Shake the paint can vigorously for about 15-20 seconds to mix the paint well. This ensures that the color and consistency are uniform throughout the can.
Step 3: Use the Paint Key Insert the paint key into the groove around the lid of the paint can. Push down firmly and rotate the key around the lid to loosen it. Continue this process until the lid is loose enough to lift off.
Step 4: Remove the Lid Once the lid is loose, lift it off the can. Be careful to avoid spilling any paint. If the lid is stubborn, you can use a screwdriver to pry it open gently.
Step 5: Clean the Lid and Can After opening the can, clean any paint residue from the lid and the rim of the can. This helps ensure a tight seal when you replace the lid after use.
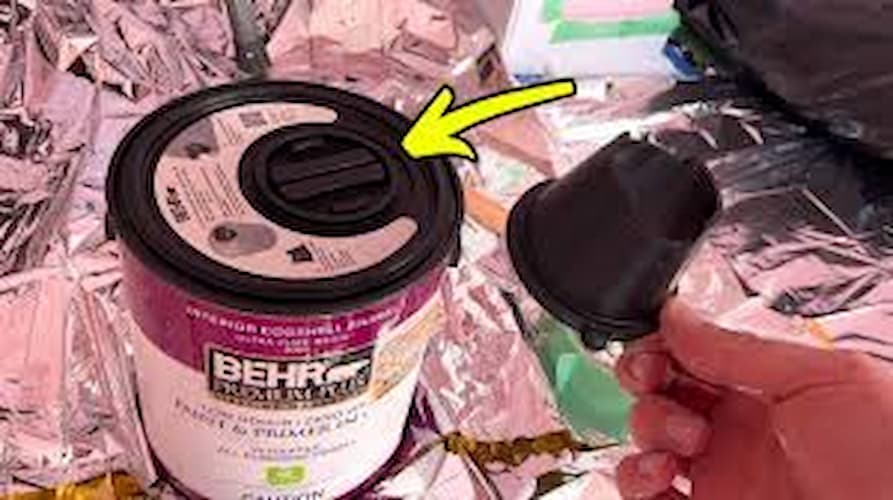
Step 6: Use a Pour Spout (Optional) If your Behr paint can has a Simple Pour Lid, you can attach a pour spout for easier pouring. Simply screw the pour spout onto the hole in the lid and use it to pour the paint into your tray or container.
Step 7: Store Properly When you done painting, make sure to clean the pour spout and lid thoroughly. Replace the lid tightly to prevent the paint from drying out.
Conclusion: Opening a Behr paint can is a simple process with the right tools and techniques. By following these steps, you can ensure a mess-free and efficient start to your painting project.