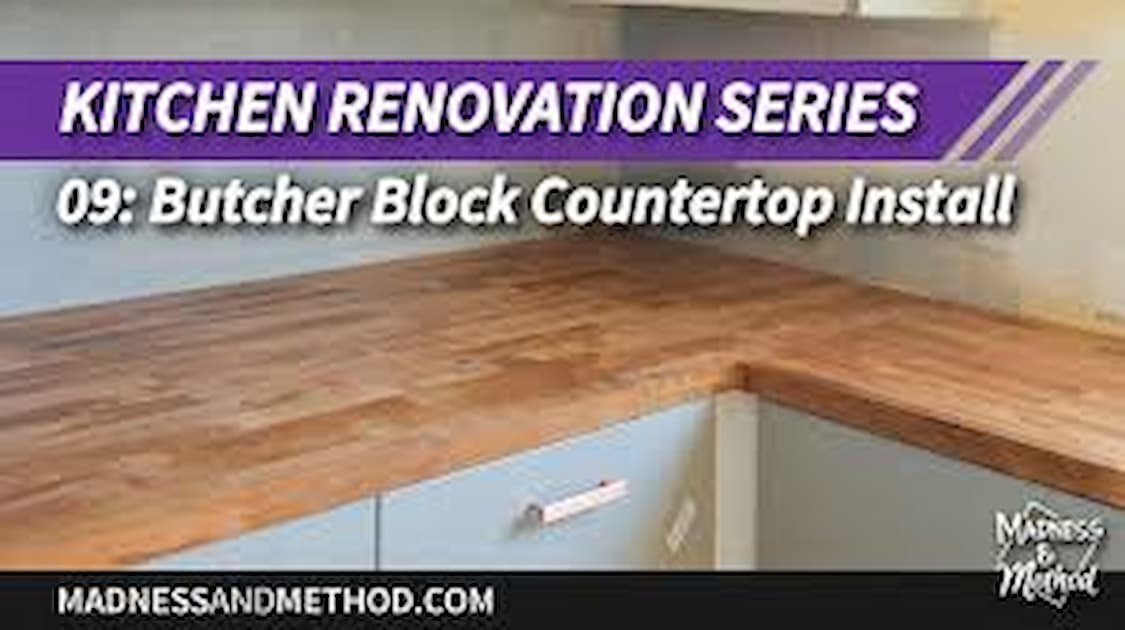
Butcher block countertops are a popular choice for kitchens due to their warm, natural appearance and durability. Whether you’re installing new countertops or extending existing ones, joining butcher block countertops seamlessly is crucial for a professional look. This guide will walk you through the steps to join butcher block countertops effectively.
Why Choose Butcher Block Countertops?
Butcher block countertops offer several benefits:
- Aesthetic Appeal: They add a warm, rustic charm to any kitchen.
- Durability: When properly maintained, they can last for years.
- Versatility: Suitable for various kitchen styles, from modern to traditional.
Steps to Join Butcher Block Countertops
1. Gather Your Tools and Materials
Before starting, ensure you have the necessary tools and materials:
- Tools:
- Circular saw or table saw
- Clamps
- Drill with bits
- Measuring tape
- Level
- Wood glue
- Sandpaper
- Wood screws
- Materials:
- Butcher block countertop pieces
- Connector bolts or biscuits
2. Measure and Cut the Countertops
- Measure Your Space:
- Use a measuring tape to determine the exact dimensions of your countertop area.
- Mark these measurements on the butcher block pieces.
- Cut the Butcher Block:
- Use a circular saw or table saw to cut the butcher block pieces to the correct size.
- Ensure the cuts are straight for a seamless join.
3. Prepare the Edges
- Sand the Edges:
- Smooth the cut edges with sandpaper to ensure a tight fit.
- Check that the edges are straight and clean.
- Dry Fit:
- Position the countertop pieces together to check the fit.
- Make any necessary adjustments to ensure the pieces align perfectly.
4. Join the Countertops
- Apply Wood Glue:
- Apply a thin layer of wood glue along the edges of the butcher block pieces.
- Ensure even coverage for a strong bond.
- Use Connector Bolts or Biscuits:
- If using connector bolts, drill holes along the joining edge and insert the bolts.
- Tighten the bolts to pull the pieces together securely.
- If using biscuits, cut slots along the edges and insert the biscuits with glue before clamping.
5. Clamp the Countertops
- Position Clamps:
- Place clamps along the joined edge to hold the pieces together while the glue dries.
- Check Alignment:
- Use a level to ensure the countertops are perfectly aligned.
- Tighten Clamps:
- Tighten the clamps and allow the glue to dry according to the manufacturer’s instructions.
6. Secure the Countertops
- Drill Pilot Holes:
- Once the glue has dried, drill pilot holes along the joined edge.
- Insert Wood Screws:
- Insert wood screws into the pilot holes to further secure the join.
- Fill Screw Holes:
- Fill any visible screw holes with wood filler and sand smooth.
Finishing Touches
- Sand the Surface:
- Sand the entire surface of the countertop to ensure a smooth finish.
- Apply Finish:
- Apply a food-safe finish or sealant to protect the wood and enhance its appearance.
Tips for a Professional Finish
- Use Quality Tools:
- High-quality tools ensure clean cuts and precise joins.
- Take Your Time:
- Rushing can lead to mistakes. Work carefully and methodically.
- Seek Help if Needed:
- Joining large countertop pieces can be challenging. Don’t hesitate to ask for assistance.
Conclusion
Joining butcher block countertops requires precision and patience, but the result is a beautiful, seamless surface that enhances your kitchen’s aesthetic. By following these steps, you can achieve a professional finish that will last for years. Enjoy the warmth and durability that butcher block countertops bring to your home.


