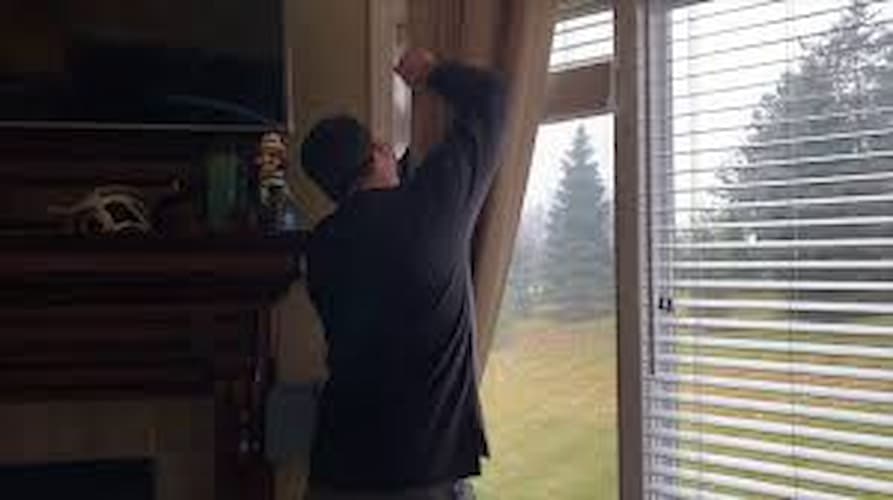
Fixing the string on your blinds can be a straightforward DIY project if you follow these steps. Here’s a simple guide to help you get your blinds working smoothly again:
1. Identify the Problem
First, determine what’s causing the issue. Is the string tangled, broken, or disconnected from the mechanism? This will help you understand the steps needed to fix it.
2. Remove the Blinds
Carefully remove the blinds from the window brackets. This will give you better access to the internal mechanism and make it easier to work on the string.
3. Inspect the Mechanism
Check the internal mechanism of the blinds to see where the string is tangled or broken. Look for any obvious signs of wear and tear or damage.
4. Untangle the String
If the string is tangled, gently untangle it using your fingers or a small tool like a toothpick. Be careful not to pull too hard, as this could cause further damage.
5. Reattach the String
If the string is disconnected, reattach it to the mechanism. Follow the path of the string to ensure it’s correctly threaded through the pulleys and gears. Refer to the manufacturer’s instructions or a video tutorial for guidance.
6. Replace the String
If the string is broken, you’ll need to replace it. Measure the length of the old string and purchase a replacement of the same type and length. Thread the new string through the mechanism, following the same path as the old string.
7. Test the Blinds
Once the string is reattached or replaced, test the blinds to ensure they open and close smoothly. Make any necessary adjustments to the tension or threading.
8. Reinstall the Blinds
After fixing the string, reinstall the blinds in the window brackets. Ensure they are securely in place and functioning correctly.