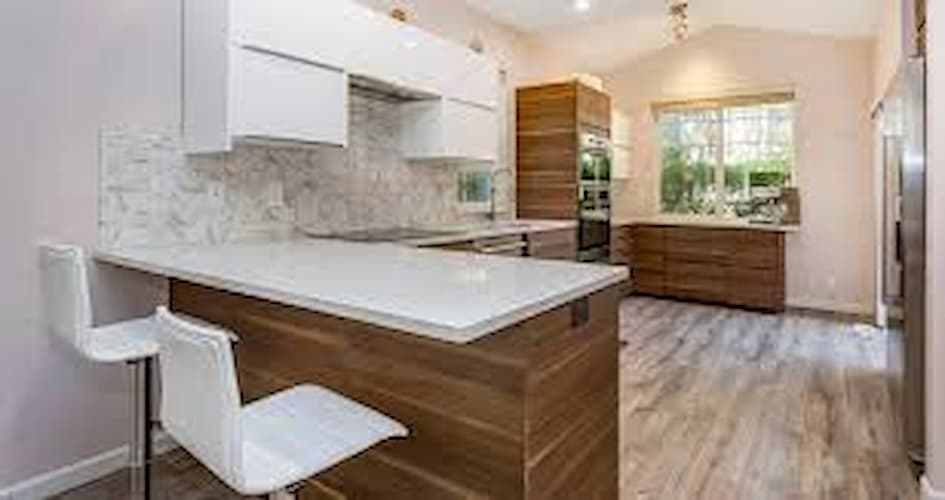
Ending a backsplash on an open wall can be challenging, but with the right approach, you can achieve a clean and professional look. This guide will walk you through the steps to end a backsplash on an open wall, ensuring a seamless transition and an aesthetically pleasing finish.
1. Plan Your Backsplash Design
Before you start, plan your backsplash design. Consider the following:
- Measure the Area: Measure the length and height of the area where you will install the backsplash.
- Choose Materials: Select the type of backsplash materials you want to use, such as tiles, glass, or stone.
- Decide on the Endpoint: Determine where you want the backsplash to end on the open wall. This could be at the edge of the countertop, a specific height, or a natural stopping point.
2. Use a Border or Trim
One effective way to end a backsplash on an open wall is to use a border or trim. This helps create a defined edge and adds a decorative element. Follow these steps:
- Select a Border: Choose a border or trim that complements your backsplash material. This could be a bullnose tile, metal trim, or a decorative edge piece.
- Cut and Install: Measure and cut the border pieces to fit the edge of the backsplash. Apply adhesive to the back of the border pieces and press them firmly into place.
- Grout the Edges: Once the border is in place, apply grout to the edges to fill any gaps and create a seamless finish.
3. Create a Clean Edge with Bullnose Tiles
Bullnose tiles have a rounded edge, making them ideal for creating a clean finish on an open wall. Follow these steps:
- Choose Bullnose Tiles: Select bullnose tiles that match or complement your main backsplash tiles.
- Measure and Cut: Measure the length of the area where the backsplash will end and cut the bullnose tiles to fit.
- Install Bullnose Tiles: Apply adhesive to the back of the bullnose tiles and press them into place along the edge of the backsplash.
- Grout the Seams: Apply grout to the seams between the bullnose tiles and the main backsplash tiles for a polished look.
4. Use Metal Edge Trim

Metal edge trim provides a modern and sleek finish for ending a backsplash on an open wall. Follow these steps:
- Select Metal Trim: Choose a metal trim that matches your backsplash and kitchen or bathroom decor.
- Cut to Size: Measure and cut the metal trim to fit the edge of the backsplash.
- Install the Trim: Apply adhesive to the back of the metal trim and press it into place along the edge of the backsplash.
- Secure the Trim: Use screws or clips to secure the trim in place, if necessary.
5. End at a Natural Stopping Point
If your backsplash transitions into another wall or surface, you can end it at a natural stopping point. Follow these steps:
- Identify the Stopping Point: Determine where the backsplash naturally transitions into another wall or surface, such as the edge of a countertop or a cabinet.
- Cut Tiles to Fit: Measure and cut the tiles to fit the remaining space up to the stopping point.
- Install and Grout: Apply adhesive to the back of the tiles, press them into place, and grout the seams for a seamless finish.
6. Maintain a Consistent Height
For a uniform look, ensure that the backsplash maintains a consistent height along the open wall. Follow these steps:
- Measure and Mark: Measure the desired height of the backsplash and mark a level line on the wall.
- Cut and Install Tiles: Cut the tiles to fit the remaining space up to the marked line and install them.
- Grout the Seams: Apply grout to the seams for a clean and finished appearance.
By following these steps, you can end your backsplash on an open wall with a professional and polished finish. Whether you choose to use a border, bullnose tiles, metal trim, or end at a natural stopping point, these techniques will help you achieve a seamless transition and a beautiful result.
Good luck with your backsplash project!