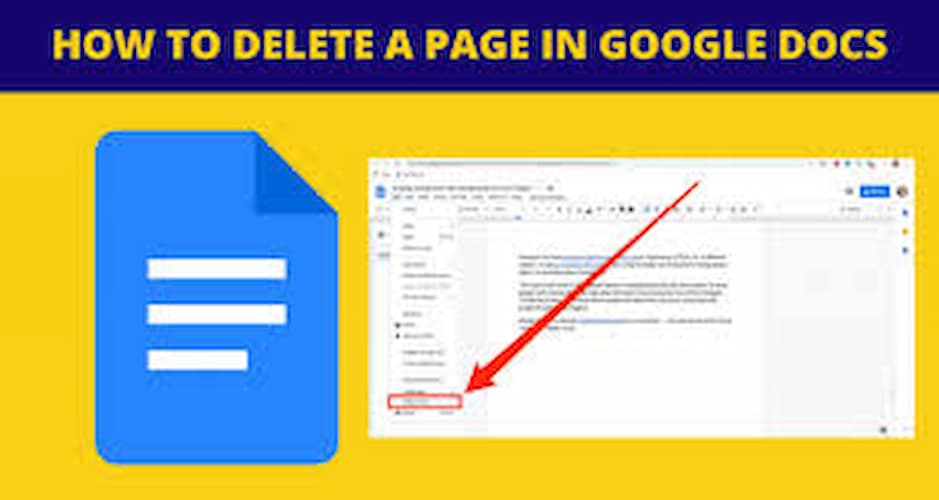
Removing a page in Google Docs can be a bit tricky, especially if you’re not familiar with the platform’s features. However, with a few simple steps, you can easily get rid of any unwanted pages in your document. Here’s a comprehensive guide to help you remove a page in Google Docs efficiently.
Step-by-Step Guide to Removing a Page in Google Docs

- Check for Blank Spaces: Sometimes, unwanted pages are caused by extra blank spaces in your document. To remove these, click anywhere on the blank page and press the Backspace or Delete key.
- Adjust Margins: Go to the “File” menu, select “Page setup,” and check your document’s margins. Reducing the bottom margin can help eliminate unwanted pages.
- Remove Page Breaks: Page breaks can cause additional pages to appear in your document. To remove a page break, place your cursor just before the break and press the Delete key.
- Reduce Font Size: If you have a single line spilling over to a new page, consider reducing the font size slightly or adjusting the line spacing to bring it back to the previous page.
- Check for Section Breaks: Section breaks can also create unwanted pages. To remove them, go to the “View” menu, select “Show section breaks,” and delete any unnecessary breaks.
- Clear Formatting: If none of the above methods work, try clearing the formatting of the entire document. Go to the “Format” menu, select “Clear formatting,” and then reformat your text as needed.
Troubleshooting Tips
- Use Print Layout: Make sure you are in “Print layout” mode to see the actual layout of your document. This option can be found under the “View” menu.
- Check for Hidden Elements: Sometimes, hidden elements like headers, footers, or images can create extra pages. Make sure to remove or resize these elements if necessary.